Practical depth guide
How to create a normal map from an image you already have
Short answer: to create a normal map from an image, first get a believable shape out of the picture, then turn that shape into per-pixel directions. Brightness-based normal map generators skip the first step and treat light pixels as high, which is fine for flat textures such as stone, fabric, or bark but wrong for photos of faces, products, or scenes. For those, estimate depth from the photo, check it, and derive normals from the same estimate. On DepthCarve you can test the depth for free in the workbench, then run the normal map generator once the shape looks right.
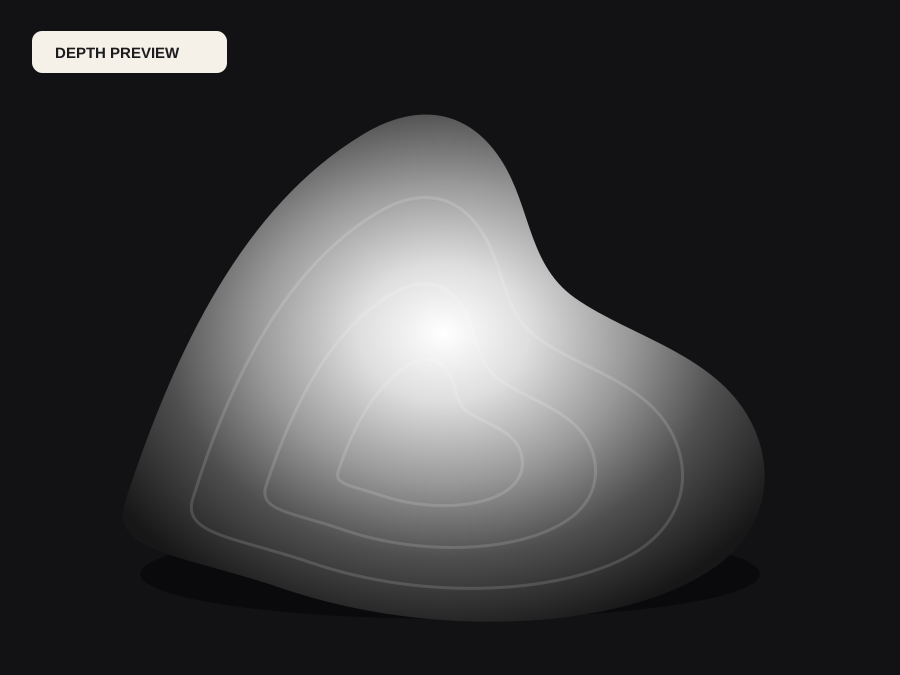
Two ways a normal map generator reads your image
Most free normal map makers work from brightness. They convert the image to grayscale, pretend that grayscale is a height field, and take the slope between neighbouring pixels as the surface direction. On a tileable texture photographed under flat light this works surprisingly well, because the dark gaps between bricks really are lower and the light faces really are higher. The method has no idea what the object is; it only knows that one pixel is brighter than the next.
An AI geometry estimate starts from the scene instead. A model trained on images and depth reads perspective, occlusion, and object shape, and returns a relative distance for every pixel. Normals derived from that field follow the form of the subject: the side of a nose turns away from the camera, a cylinder curves around, and a dark shirt in front of a light wall stays in front. That is the difference between a texture filter and a surface estimate, and it decides which tool belongs in your pipeline.
When brightness is enough and when it is wrong
Brightness-based normals are a good choice for repeating, mostly flat material samples: concrete, tiles, leather, wood grain, rough plaster, or ground scans shot straight down. The relief is shallow, the lighting is even, and the goal is micro detail that reacts to light. In that case a dedicated texture tool with strength and blur sliders is quick and predictable, and an AI estimate adds little.
Brightness is wrong whenever colour and shape disagree. A black logo on a white mug is not a hole in the mug. Freckles are not craters, a printed pattern on a dress is not stitching, and a shadow under a chin is not a deep trench. Photographs of people, products, statues, and rooms are full of these traps, so a luminance converter embosses the paint instead of the form. If the subject has a real three-dimensional shape that you want the lighting to respect, start from geometry rather than from grey levels.
Step by step: from one photo to a usable normal map
Choose a sharp photo with soft, even light and the whole subject in frame. Upload it to the free workbench on the DepthCarve homepage and look at the depth preview before thinking about normals. Use the black point, white point, contrast, and invert controls until near and far read correctly and the background is not stealing range. You can download the free 8-bit PNG and a preview STL at this stage without an account, which is a cheap way to see whether the picture holds enough shape.
When the depth looks right, open the normal map generator and run the same photo through the geometry provider. The approved production job costs one credit and returns depth and normals from one estimate, together with raw floating-point depth, true 16-bit forward and inverse PNGs, a watertight STL, and a parameter manifest, plus a point cloud, GLB, and camera data when the provider supplies them. Provider links expire after roughly an hour, so download the ZIP into your project folder straight away.
Check the green channel and the coordinate space
Before the map goes anywhere near a material, test it on a simple lit sphere or plane. If bumps look like dents when the light comes from above, the green channel is flipped for your renderer: OpenGL-style pipelines and DirectX-style pipelines disagree on that axis, and inverting green fixes it. Also confirm whether the output is in camera space or tangent space. A photo-derived map naturally describes directions relative to the camera, while most game and PBR materials expect tangent space on a UV-mapped surface.
Write the convention you settled on into the project notes or keep the manifest next to the files. The same photo can be re-run months later, and a new artist should not have to rediscover which way green points by trial and error. One small test render costs seconds; a whole material library built on a flipped channel costs a day of rework.
Common problems in photo-derived normal maps
Cast shadows can arrive as ridges because a dark band beside an object looks like an edge in front of it. Reflections in glass, chrome, and water describe the scene behind the camera rather than the surface itself. Very fine structures such as hair, wires, and leaves fall between samples and smear into the background. Large flat untextured areas give the estimator nothing to measure, so they come back softly curved. Reshooting with diffuse light usually helps more than any later filter.
Seams between depth and normals are the other classic failure. If the depth came from one preprocessor and the normals from another, a crease in one map can sit a pixel away from the matching crease in the other, and the shading looks wrong for no obvious reason. Deriving both from the same estimate keeps every edge in the same place, and when something is off you only have one source to inspect.
Where a normal map from a photo is useful
Look-development and concept work benefit most: you can relight a product shot, test how a carved panel catches raking light, or add surface response to a matte painting without building a model. Relief makers use the normals next to the depth to preview how a carving will read under a lamp before any material is cut, and the depth itself stays the input for CNC, laser, or STL output, because a normal map stores direction, not height.
For game assets, treat a photo-derived map as a strong starting point rather than a final texture. Bake it onto a UV-mapped surface, convert it to tangent space, and combine it with a proper height or ambient occlusion pass. Treat the depth map vs normal map decision as part of planning, not cleanup: if the job ever needs to be printed, carved, or displaced, keep the depth from the same run, since you cannot reliably integrate normals back into height later.
Before the file moves forward
Final checklist
- The subject has a real shape, so you start from a depth estimate rather than from brightness.
- The depth preview reads near and far correctly before you generate normals.
- Depth and normals come from the same estimate so creases line up.
- The green channel has been checked on a lit sphere for your renderer.
- You know whether the map is in camera space or tangent space before it reaches a material.
- The ZIP and its manifest are saved in the project before the provider links expire.