01
Laser engraving shops
Reduce failed customer pieces and preserve machine time.
Laser depth map
Turn a photo into controllable grayscale input for 3D laser engraving. Inspect edges, choose which values map to deeper passes, and test a free PNG before spending material or machine time.
Live manufacturing workbench
Three free AI previews per day. Source checks, editing, 3D preview, and compatibility exports are free.
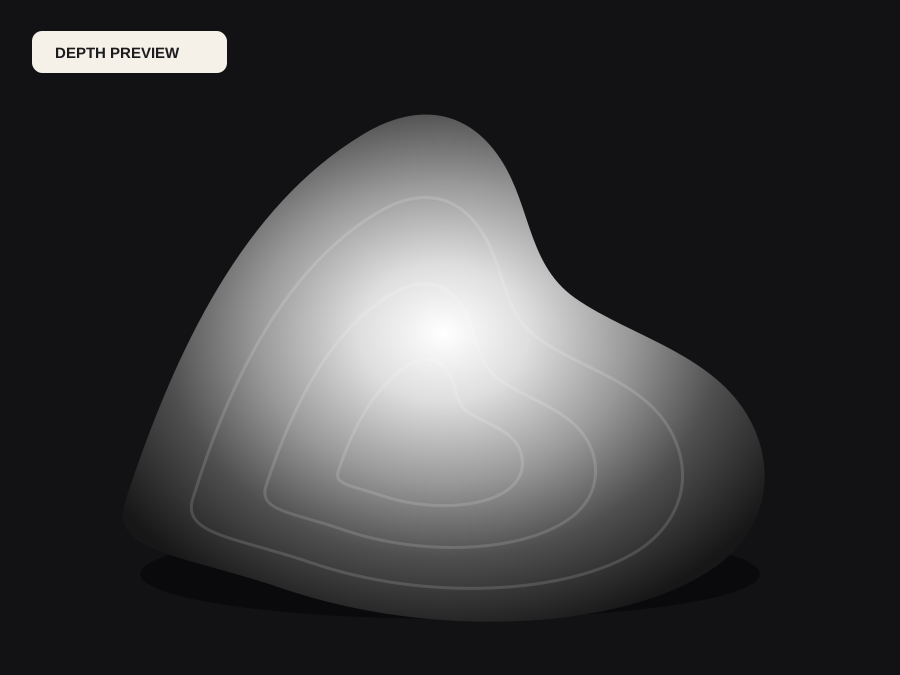
Choose a source image to begin.
Real work, real failure cost
The useful product is not the model call. It is the review loop that catches a reversed field, a noisy border, or an impossible relief before the next tool turns that mistake into wasted time.
01
Reduce failed customer pieces and preserve machine time.
02
Keep faces readable while controlling background depth.
03
Separate image preparation from material-specific power calibration.
01
A grayscale file for a laser carries two separate decisions: which parts of the subject are raised, and how much of the tonal range each step is allowed to consume. A photograph answers neither. Brightness in a photo records reflected light, so a bright forehead and a bright wall arrive at the same value even though only one of them should become geometry.
DepthCarve works on the second question only. The blank point removes low-value range, the white point sets the upper boundary, contrast separates levels, and inversion decides which end becomes near. Because those operations run on the estimate rather than triggering another inference, you can compare two interpretations of the same subject without paying for the model twice.
02
Subjects with clear form and an uncluttered border behave best. Flat borders give the engraver a predictable resting level, and smooth transitions across skin, fabric, or ornament reduce banding where the controller steps between power levels. Reflective, transparent, textureless, or heavily repeated surfaces give the estimator no reliable cue and can return a confident-looking field that is simply wrong.
Check the free 8-bit PNG against the original before anything else. Look for a halo along a hard silhouette, a background that has crept into the subject range, and any isolated bright or dark island that will become a spike or a pit. Those are source and range problems, and no amount of increased density or a different container will repair them.
03
A depth map describes intended relief. It says nothing about what a specific sheet of plywood, slate, coated metal, or acrylic will do at a given power, speed, interval, or number of passes. Combining both questions into one attempt makes a failure impossible to attribute: you cannot tell whether the image was wrong or the settings were.
Approve the grayscale file first, on a screen and on a small scrap strip cut from the same material batch. Only then spend production time. The preview downloads stay free for exactly this reason, and the paid bundle exists for raw float depth and the true 16-bit pair when a job genuinely needs them.
Five bounded stages
Check source contrast, edge detail, border clutter, and resolution before an AI call is trusted.
Adjust the subject mask, background, curve, detail, smoothing, taper, frame, and real dimensions for free.
Compare beam or tool size, tonal slices, slope, base, manifold topology, and bounding box with the real setup.
Approve one successful production job only after the free 2D and 3D previews earn acceptance.
Download one verified ZIP and inspect it in LightBurn, CAM, or a slicer before committing production material.
Choose by next action
| Output | Use it for | It does not guarantee | Cost |
|---|---|---|---|
| 8-bit PNG | Preview, mask, laser and compositing tests | Physical scale or machine settings | Free |
| Compatible 16-bit PNG | Compatibility with grayscale depth workflows | Additional source precision | Free |
| Preview STL | Low-cost scale and import checks | Printability, tool reach, or safe G-code | Free |
| Production job bundle | Raw EXR, true 16-bit pair, STL, preview and manifest | Hidden surfaces or certified metric truth | 1 credit |
Straight answers
That depends on the software and selected engraving mode. Use Invert to create both interpretations, confirm the controller preview, and test a small sample before the final job.
The 8-bit grayscale PNG, the compatibility 16-bit container, and the low-resolution preview STL are free and need no account. The production bundle — raw EXR, true 16-bit forward and inverse maps, watertight STL, and a validation manifest — costs one credit.
Enough to read at the final size and no more. Shallow relief keeps passes low and reduces the chance that a small focus or interval error turns a face into a groove. Compare the tonal-slice estimate against your measured depth step before approving.
Test the map on scrap of the same material first. A mismatch is almost always material response, focus, or interval rather than the file. Recalibrate on scrap before changing the depth map itself.
Preview the idea. Pay for usable output.
Start without an account. When a professional format earns approval, use the welcome credit or choose a pack that matches the shop's workload.