Choose a source that shows the subject
Choose one well-lit face with the full head visible. A front or gentle three-quarter view gives you more useful information than a dark profile. Keep the nose, chin and ears away from the image border. Crop the image yourself before upload if there are people or objects that should not appear in the relief; the preset does not automatically segment a person.
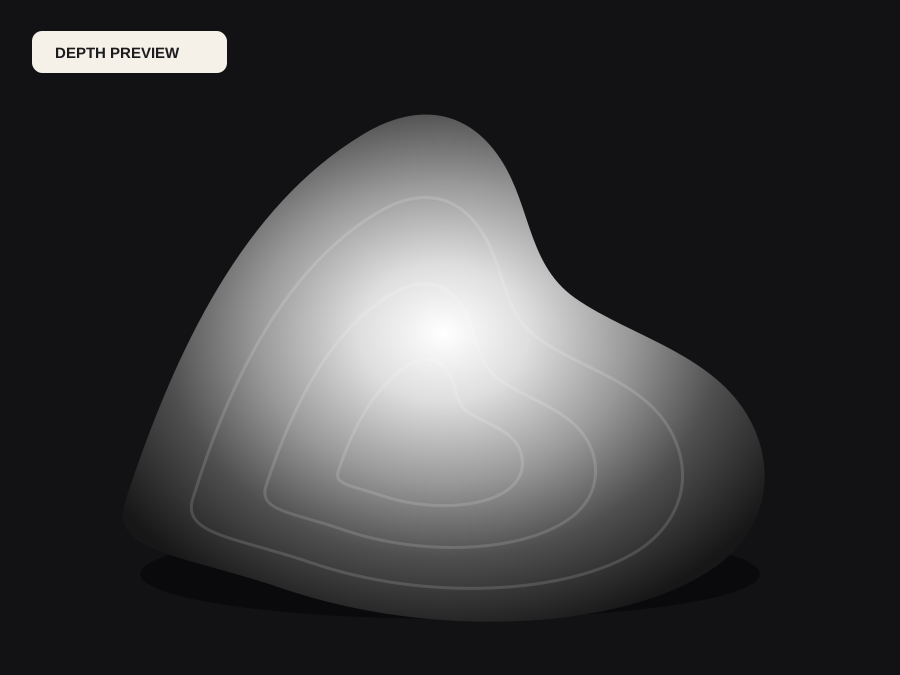
A photo contains light and color, not measured distances. The immediate free preview follows image brightness, so a white shirt may look higher than a dark face. Use the AI depth preview when you need an estimated shape, and inspect the nose, eye sockets and shoulders afterward. Neither path reconstructs unseen anatomy or the back of a head.
Review the shape at the intended size
Open the advanced controls after upload. Start with smoothing and the black/white range, then inspect the side view. One smoothing pass and a gentle gamma curve reduce abrupt photo noise, while the edge taper lowers the perimeter. A stronger relief can exaggerate nostrils and shadows; lower the relief height if the face develops sharp cliffs.
Width defines the physical X size. Height follows the image ratio, and the maximum Z includes both base and relief. A 3:2 source at 120 mm wide therefore produces an 80 mm-high rectangular plaque. The STL is a height-field slab with a back and side walls, not a free-standing statue. Cropping, circular outlines and holes need a separate modeling step.
Continue in your fabrication software
Import the STL into your own slicer or CAM application with millimeters selected. Measure its bounding box, inspect the back face and check the thin features around glasses, hair and jewelry. Decide orientation, supports, stock, cutter and toolpath in that application. DepthCarve does not create G-code or know your machine calibration.
For a keepsake, compare the face with the source at the intended physical size before committing to the production job. A recognizable silhouette matters more than maximum contrast. Keep your original image, the exported file and the parameters together so a later revision can be compared against the same source.
Choose the file for your next step
- Free 8-bit PNG
- A grayscale preview for visual review and simple compatibility tests. The upload preview comes from brightness until an AI depth result is selected. Do not treat a 256-level source as precision measurement.
- Free compatible 16-bit PNG
- A real 16-bit grayscale PNG container made from the preview. It helps software that expects this format, but expanding an 8-bit preview does not recover new depth detail. The download records that preview-derived origin.
- Free preview STL
- A closed rectangular slab at your chosen millimeter dimensions, sampled to a limited preview grid. The base, side walls and relief are included. Its mesh can be inspected in a slicer; a successful export does not guarantee printability or machinability.
- Approved production ZIP
- A successful production job uses raw floating-point EXR depth to create forward and inverse 16-bit PNGs, an 8-bit preview, a bounded relief STL, the raw EXR and a parameter manifest. One production credit is required; review the current account balance before approving. This is distinct from converting the free preview into a 16-bit container.
Inspect the output, then decide whether to continue
Before downloading, compare the grayscale direction and the side-view relief. Fine bright details can become raised ridges. The base and relief should fit your intended object, and the machine review must use your actual inputs. Adjustments are editable starting points, not material-specific cutting instructions.
The production bundle checks PNG dimensions and bit depth, finite STL coordinates, physical bounds and closed, consistently oriented edges. These checks validate file structure. They do not prove anatomical accuracy, tool access, material strength or a successful physical print. Keep the manifest with the files when handing them to a workshop.
If an upload fails, choose a supported image and retry manually; the previous valid preview remains available. A failed preview request does not improve by approving a paid job. Wait for a readable preview and resolve warnings first. When a completed production job is still available, the existing workflow can rebuild its bundle without creating a second job.
Questions before you export
Can I make a complete 3D bust?
This workflow creates a rectangular bas-relief from one view. It does not reconstruct a full head, a back view or hidden surfaces.
Will a bright photograph give accurate facial depth?
Brightness and estimated AI depth are separate inputs. The initial preview is explicitly brightness-derived. Inspect an AI preview when shape matters; either result remains an estimate.
The image is an input; the preview is a digital estimate. No physical carving, automatic text engraving, cutout, hanging hole, G-code or safety certification is included.