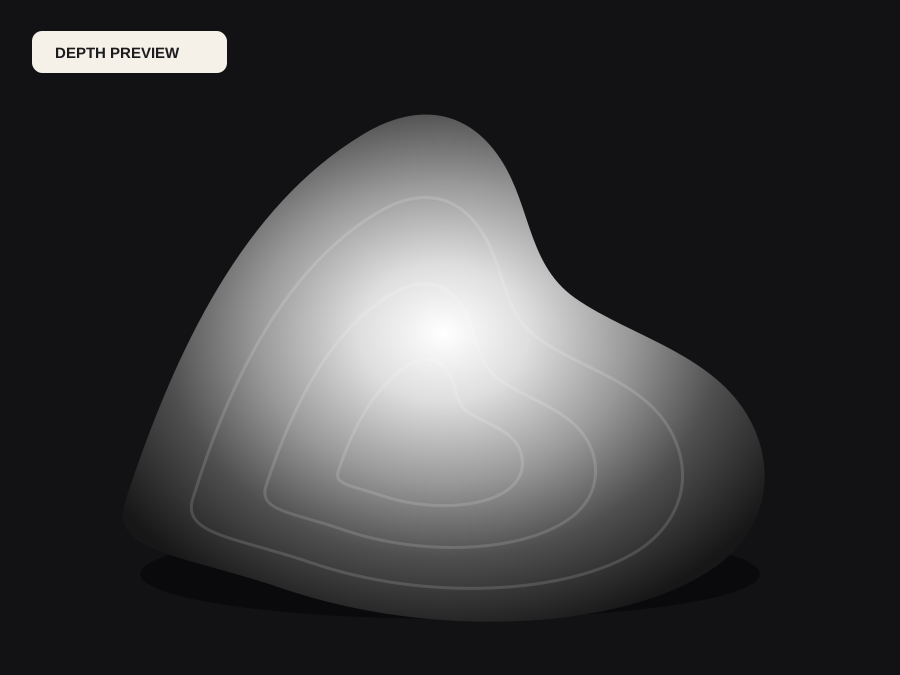
Choose a source that shows the subject
Simple leaves, architectural silhouettes and broad decorative forms are easier to assess than a dense picture full of tiny writing. Upload your own flat illustration or photograph. If the source is a photograph of an already carved object, its shadows may be interpreted as new height; a clean source image is a clearer starting point.
A layered laser-cut SVG project is a different deliverable. This tool produces grayscale depth and a single height-field slab. It does not separate layers, trace vector cut paths or generate a nesting layout. Use the preview to decide whether a shallow relief is the right process for your artwork before approving a production job.
Review the shape at the intended size
At 180 mm width, the panel height still follows the original image ratio. The preset starts with a 5 mm relief over a 4 mm base. Check the maximum total thickness against your stock, hold-down arrangement and finishing allowance. Changing the width alone does not automatically resize the relief height, base thickness or cutter diameter.
Use the machine fields to enter your actual detail diameter, depth step and stock thickness. A pattern with grooves narrower than the effective cutter or beam can lose detail even when the screen preview looks sharp. Review reported warnings; the calculator explains constraints but cannot choose feeds, speeds, passes or a safe workholding setup for you.
Continue in your fabrication software
Inspect the STL in the downstream CAM application with millimeters selected. Check orientation, stock bounds and whether a positive or inverted height map is appropriate. The production ZIP includes both depth directions so you can compare them; a darker area does not universally mean deeper across every software preset.
Wood grain, tool marks, finish and moisture are outside the digital model. No physical wood-carving success is implied by the rendered preview. Keep a copy of your source and chosen parameters, inspect a toolpath simulation in your own CAM software, and validate the material process independently before scaling a design into customer orders.
Choose the file for your next step
- Free 8-bit PNG
- A grayscale preview for visual review and simple compatibility tests. The upload preview comes from brightness until an AI depth result is selected. Do not treat a 256-level source as precision measurement.
- Free compatible 16-bit PNG
- A real 16-bit grayscale PNG container made from the preview. It helps software that expects this format, but expanding an 8-bit preview does not recover new depth detail. The download records that preview-derived origin.
- Free preview STL
- A closed rectangular slab at your chosen millimeter dimensions, sampled to a limited preview grid. The base, side walls and relief are included. Its mesh can be inspected in a slicer; a successful export does not guarantee printability or machinability.
- Approved production ZIP
- A successful production job uses raw floating-point EXR depth to create forward and inverse 16-bit PNGs, an 8-bit preview, a bounded relief STL, the raw EXR and a parameter manifest. One production credit is required; review the current account balance before approving. This is distinct from converting the free preview into a 16-bit container.
Inspect the output, then decide whether to continue
Before downloading, compare the grayscale direction and the side-view relief. Fine bright details can become raised ridges. The base and relief should fit your intended object, and the machine review must use your actual inputs. Adjustments are editable starting points, not material-specific cutting instructions.
The production bundle checks PNG dimensions and bit depth, finite STL coordinates, physical bounds and closed, consistently oriented edges. These checks validate file structure. They do not prove anatomical accuracy, tool access, material strength or a successful physical print. Keep the manifest with the files when handing them to a workshop.
If an upload fails, choose a supported image and retry manually; the previous valid preview remains available. A failed preview request does not improve by approving a paid job. Wait for a readable preview and resolve warnings first. When a completed production job is still available, the existing workflow can rebuild its bundle without creating a second job.
Questions before you export
Does it produce a layered SVG or CNC G-code?
No. It exports grayscale PNG and a rectangular relief STL. Vector layer separation, nesting and machine-specific toolpaths belong in separate tools.
Does a closed STL guarantee a good wood carving?
No. Closed-edge inspection checks the digital mesh. Cutter access, grain, stock, workholding and machine settings still need your own CAM and material review.
The image is an input; the preview is a digital estimate. No physical carving, automatic text engraving, cutout, hanging hole, G-code or safety certification is included.