Practical depth guide
How to make a depth map that survives the next tool
The model call is the shortest part. A reliable depth map comes from choosing a readable source, deciding what brightness should mean, remapping the useful range, and testing the output where it will actually be used.
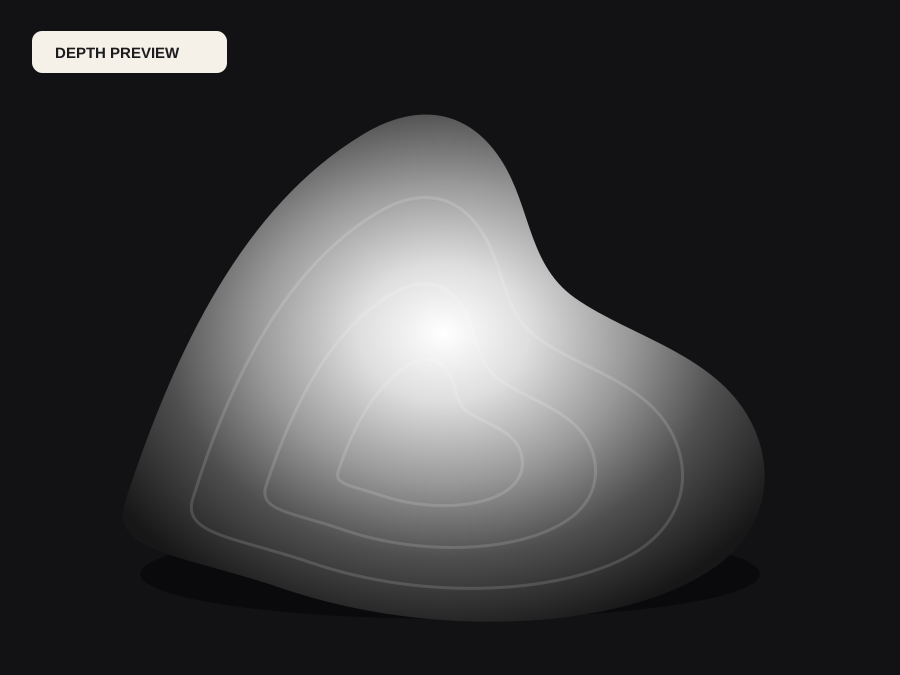
Start with a source the model can reason about
Choose an image with a clear subject, visible boundaries, and limited ambiguity about which objects are in front. Front-facing portraits, products on simple backgrounds, architectural details, and scenes with familiar perspective are usually easier than glass, mirrors, smoke, fine foliage, or a pile of overlapping objects. Resolution matters, but sharp structure matters more than an enormous file full of compression noise.
Crop before generation. A distant background can occupy most of the estimated distance range even when the project is a shallow portrait relief. Remove decorative borders, captions, and irrelevant scenery. If the source will become a physical relief, decide whether disconnected hair, jewelry, or floating objects can be manufactured. If the goal is VFX, preserve the image boundary and aspect ratio used by the final shot.
Generate relative depth, then read it as data
Upload the image and generate a free preview. Use the comparison slider instead of judging the depth map alone. The question is not whether the grayscale picture looks attractive; it is whether object order, silhouettes, and gradual surfaces agree with the source. Check the subject-to-background boundary, hands and facial features, transparent objects, repeated patterns, and any area where lighting might be mistaken for shape.
DepthCarve produces relative depth, not a certified measurement in meters. A white pixel is meaningful only in relation to other values and the current inversion. Some downstream tools expect white to be high or near; others can reverse the mapping. Confirm the convention using a simple test object or the receiving software's preview. Never assume direction because the map resembles examples from another tool.
Remap the useful range without hiding mistakes
Black point and white point define which part of the estimate fills the output range. Move black point upward to flatten values below the useful subject, and move white point downward when a small near region is compressing everything else. Contrast increases separation around the middle. Invert flips the field. Make one change at a time and keep the source visible so an aggressive adjustment does not turn a soft error into a sharp ridge.
For relief, aim for broad continuous planes and a stable background. For laser engraving, preserve smooth tonal transitions and reserve material testing for the laser stage. For compositing, boundaries may matter more than a flat base, and a hand-painted correction can be appropriate. Range controls are not segmentation or retouching; when the model assigns the wrong object order, correct the source or use a dedicated editing step.
Export the representation the next application expects
Use the free 8-bit PNG for quick masks and first tests. The free compatible 16-bit option satisfies software that requires the container but does not add source precision. The free preview STL checks scale and import. Approve one production job only when you need raw float EXR encoded into verified forward and inverse true 16-bit PNG plus the final watertight STL.
The production job may also return surface normals, a point cloud, GLB, and camera information, but it still cannot reconstruct every hidden surface from one view. The downloaded ZIP records adjustments, dimensions, machine assumptions, bit-depth verification, mesh checks, and temporary provider links in one manifest so a revision does not rely on memory.
Test where failure becomes visible but remains cheap
Open the PNG in the actual compositor, laser program, texture tool, or CAM package. Check the import at final aspect ratio and dimensions. For a physical workflow, simulate the toolpath or slice, then make a small sample in inexpensive material. A useful test reproduces the same lens, machine, cutter, layer height, material, and controller mode planned for production; otherwise it proves very little.
Keep model approval and machine approval separate. The free preview answers whether the scene interpretation is worth continuing. The downstream test answers whether the prepared file works with a particular process. This boundary is why DepthCarve does not create automatic G-code or claim universal laser settings. Those shortcuts would combine unknown geometry with unknown hardware in the most expensive part of the workflow.
Before the file moves forward
Final checklist
- The subject is sharp, fully visible, and separated from the background.
- Foreground and background order match the source image.
- The intended near/high direction is confirmed in the receiving software.
- Range controls improve useful structure without clipping key features.
- The selected file format matches the next tool's actual input contract.
- Physical dimensions, stock, tooling, and a low-cost test are verified separately.