01
Photo engravers
Keep faces and foreground readable across variable materials.
Depth map for laser engraving
Separate scene interpretation from laser calibration. First approve a clean grayscale relief; then determine power, speed, interval, and passes on scrap.
Live manufacturing workbench
Three free AI previews per day. Source checks, editing, 3D preview, and compatibility exports are free.
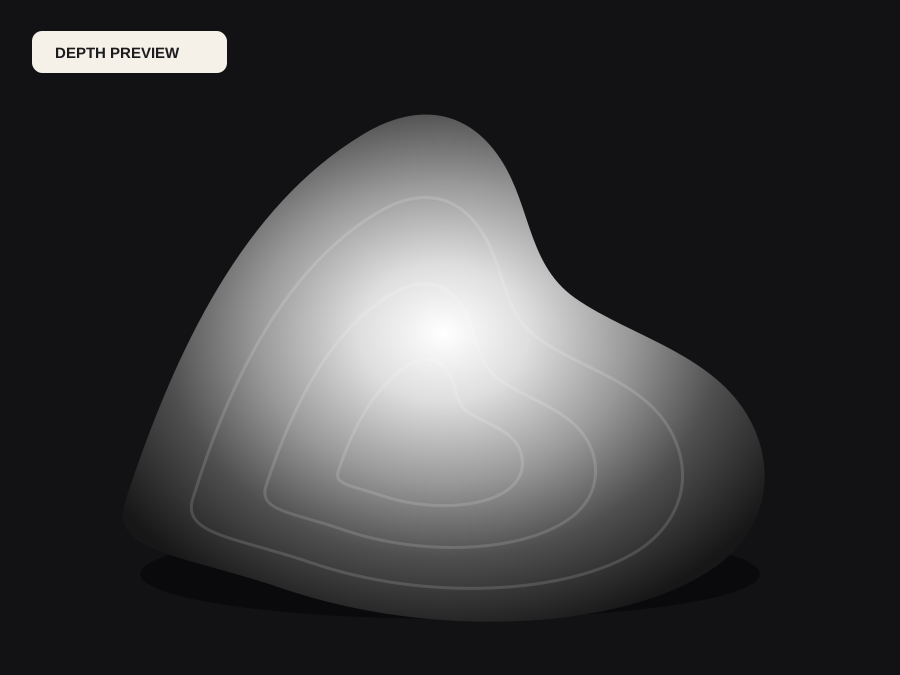
Choose a source image to begin.
Real work, real failure cost
The useful product is not the model call. It is the review loop that catches a reversed field, a noisy border, or an impossible relief before the next tool turns that mistake into wasted time.
01
Keep faces and foreground readable across variable materials.
02
Approve customer input before occupying production equipment.
03
Reuse one depth field across controlled parameter matrices.
01
A depth map for laser engraving defines which parts of the design are nearer and how the intervals between them are distributed. What the material does with that definition is a separate question answered by power, speed, focus, interval, and pass count. Keeping the two apart is what makes a bad result diagnosable.
When both are guessed at once, an unsatisfactory burn tells you nothing: the image may have been wrong, the settings may have been wrong, or the material may simply not respond as expected. Fix the file first on screen, then vary one machine parameter at a time.
02
A useful test uses the same material batch, the same lens and focus, and the same interval as the production job. Anything else measures a different setup. Vary one axis at a time so the result can be read: a strip that changes power and speed together produces a range of outcomes with no explanation attached.
Reuse the approved depth field across the whole matrix. Because the image is constant, every difference you observe belongs to the machine or the material, which is exactly the property that makes a calibration sequence worth recording.
03
Depth and direction say nothing about fumes, fire risk, reflective coatings, or unknown plastics, and no exported file can make an unsafe material safe. Follow the machine manufacturer's guidance, provide extraction, and stay with an operating laser.
Then decide the pass structure from the test rather than from the preview. The preview tells you whether the relief reads; the scrap strip tells you whether this material can produce it at the resolution you designed.
Five bounded stages
Check source contrast, edge detail, border clutter, and resolution before an AI call is trusted.
Adjust the subject mask, background, curve, detail, smoothing, taper, frame, and real dimensions for free.
Compare beam or tool size, tonal slices, slope, base, manifold topology, and bounding box with the real setup.
Approve one successful production job only after the free 2D and 3D previews earn acceptance.
Download one verified ZIP and inspect it in LightBurn, CAM, or a slicer before committing production material.
Choose by next action
| Output | Use it for | It does not guarantee | Cost |
|---|---|---|---|
| 8-bit PNG | Preview, mask, laser and compositing tests | Physical scale or machine settings | Free |
| Compatible 16-bit PNG | Compatibility with grayscale depth workflows | Additional source precision | Free |
| Preview STL | Low-cost scale and import checks | Printability, tool reach, or safe G-code | Free |
| Production job bundle | Raw EXR, true 16-bit pair, STL, preview and manifest | Hidden surfaces or certified metric truth | 1 credit |
Straight answers
No. Material composition, color, coating, thickness, focus, optics, and machine power change the response. Recalibrate whenever those conditions change.
It depends on the controller mode and on whether you want the subject raised or recessed. Export both interpretations from the same estimate, check them in the controller preview, and keep the one your test confirms.
At least enough pixels that the finished size can carry the detail. Compressing far below the intended line interval wastes the machine's resolution, while an enormous source adds processing time without adding usable structure.
Yes. Each browser gets three free AI previews per day, and source checks, shaping, the 3D preview, compatibility exports, and the preview STL are free without an account.
Preview the idea. Pay for usable output.
Start without an account. When a professional format earns approval, use the welcome credit or choose a pack that matches the shop's workload.