01
Photo and design teams
Get an editable grayscale starting point without a local model setup.
Image to depth map
Upload a photo, estimate relative depth, and shape the range before export. Compare the estimate with the source, flatten background distance, and choose the grayscale or relief output your next tool expects.
Live manufacturing workbench
Three free AI previews per day. Source checks, editing, 3D preview, and compatibility exports are free.
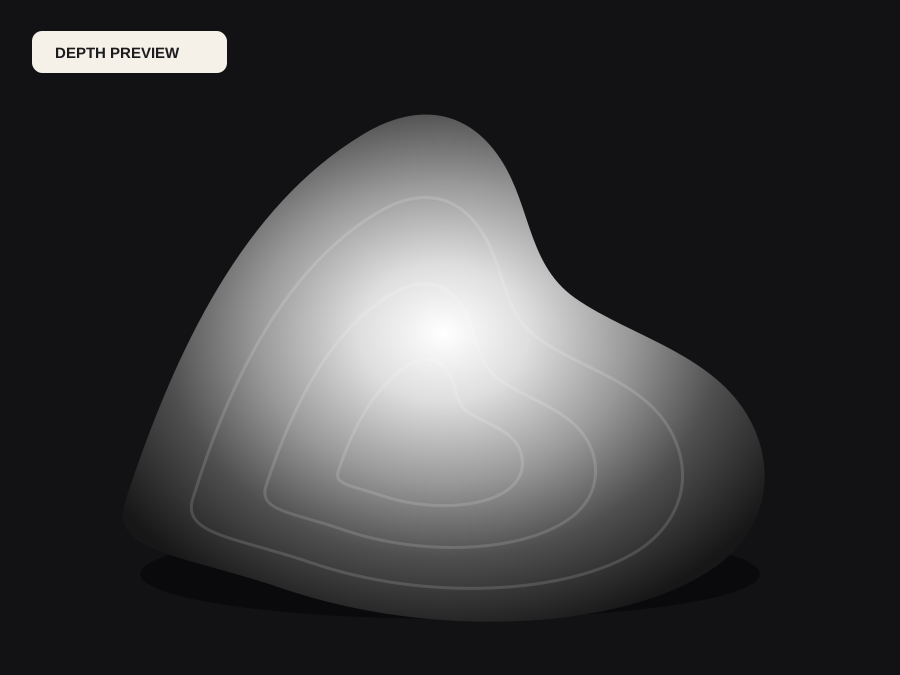
Choose a source image to begin.
Real work, real failure cost
The useful product is not the model call. It is the review loop that catches a reversed field, a noisy border, or an impossible relief before the next tool turns that mistake into wasted time.
01
Get an editable grayscale starting point without a local model setup.
02
Prepare image-derived depth for a CAM or engraving workflow.
03
Create a quick depth pass for displacement and depth-driven effects.
01
An image to depth map conversion reads one photograph and returns a relative field: near values for whatever the model judges to be closer, far values for everything else. It does not measure distance, it does not know absolute scale, and it cannot see behind an object. Stating that up front prevents the most common disappointment, which comes from expecting survey data.
What the estimate does provide is ordering with usable structure across the frame, which is enough for most mask, displacement, relief, and effect work once the range has been remapped for that specific job.
02
The estimator is only as good as the cue in the image. A clear subject with visible form and a quiet background produces a clean field; transparent, reflective, textureless, or repetitive surfaces give it nothing reliable to work with, and heavy motion blur removes the boundaries it needs.
Crop and straighten first. A decorative border, a timestamp, or a distant crowd becomes unwanted geometry later, and removing it before generation is free while removing it afterwards means rebuilding the field. Check source contrast and edge detail in the readiness report before spending a generation.
03
Grayscale PNG is the general-purpose answer: most image editors, compositors, displacement tools, and CAM packages accept it, and it is cheap to inspect. Take the true 16-bit pair when the receiving program will subdivide finely enough for the extra levels to survive. The free compatible 16-bit container exists for software that requires that container, not for added precision.
When the next step needs geometry rather than an image, export the STL instead. It is built from the same approved field, closed with walls and a base, and dimensioned in millimetres so a slicer or CAM package can work with an object rather than a picture of one.
Five bounded stages
Check source contrast, edge detail, border clutter, and resolution before an AI call is trusted.
Adjust the subject mask, background, curve, detail, smoothing, taper, frame, and real dimensions for free.
Compare beam or tool size, tonal slices, slope, base, manifold topology, and bounding box with the real setup.
Approve one successful production job only after the free 2D and 3D previews earn acceptance.
Download one verified ZIP and inspect it in LightBurn, CAM, or a slicer before committing production material.
Choose by next action
| Output | Use it for | It does not guarantee | Cost |
|---|---|---|---|
| 8-bit PNG | Preview, mask, laser and compositing tests | Physical scale or machine settings | Free |
| Compatible 16-bit PNG | Compatibility with grayscale depth workflows | Additional source precision | Free |
| Preview STL | Low-cost scale and import checks | Printability, tool reach, or safe G-code | Free |
| Production job bundle | Raw EXR, true 16-bit pair, STL, preview and manifest | Hidden surfaces or certified metric truth | 1 credit |
Straight answers
The estimate is relative, not metric. Pixel values describe ordering and normalized distance from the single viewpoint. Confirm direction and scale in the receiving tool and test at low cost.
Enough contrast and edge definition for the estimator to find structure. Sharp, evenly lit images with a clear subject and a simple background work best; heavy blur, compression, and reflective surfaces are the usual causes of a poor field.
8-bit is enough for previews, masks, composites, and most relief work. Choose the true 16-bit pair when the receiving pipeline can display or machine more than 256 levels; otherwise it adds size without visible change.
The free path gives you an 8-bit preview, the compatibility container, and a preview STL to approve the interpretation. One credit adds raw float depth, the true 16-bit forward and inverse pair, a watertight STL, and a parameter and validation manifest.
Preview the idea. Pay for usable output.
Start without an account. When a professional format earns approval, use the welcome credit or choose a pack that matches the shop's workload.