01
FDM makers
Balance visible relief with layer height and nozzle limits.
3D print relief maker
Create a closed STL with intentional thickness and manageable geometry. Keep the relief shallow enough to print cleanly, then inspect orientation and supports in your own slicer.
Live manufacturing workbench
Three free AI previews per day. Source checks, editing, 3D preview, and compatibility exports are free.
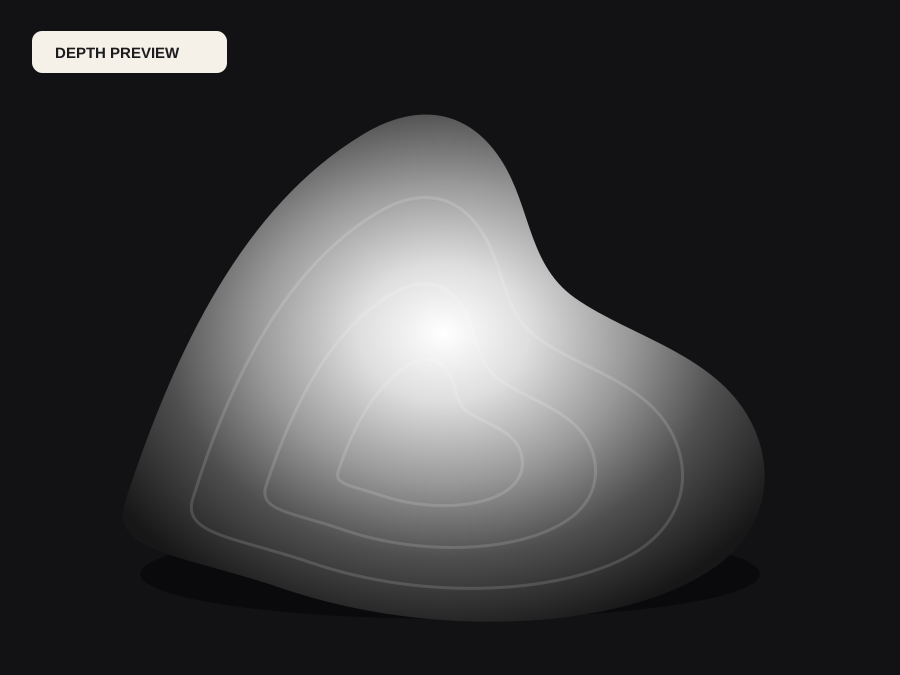
Choose a source image to begin.
Real work, real failure cost
The useful product is not the model call. It is the review loop that catches a reversed field, a noisy border, or an impossible relief before the next tool turns that mistake into wasted time.
01
Balance visible relief with layer height and nozzle limits.
02
Preserve fine detail while avoiding fragile unsupported features.
03
Compare geometric relief with transmission-based alternatives.
01
A relief exported as a bare height surface has no inside. Slicers handle that differently: some repair it silently, some refuse, and some produce a single-wall object that fails on the printer. A 3D print relief maker should remove that ambiguity before the file leaves the browser.
DepthCarve builds the top surface, the perimeter walls, and a bottom face at the base thickness you set, so the downloaded STL is a solid with a defined bounding box. That is also what makes dimensions meaningful: width, relief height, and base thickness together describe the object, whereas a bare field describes nothing but relative values.
02
An FDM nozzle cannot reproduce a ridge narrower than its extrusion width, and a resin printer trades that limit for drainage and support problems on steep or enclosed shapes. Either way, the relief has to be gentle enough that the smallest features survive and no overhang becomes a printable cliff.
Mesh density interacts with this rather than replacing it. The default grid resolves ordinary portrait and product detail; a denser grid on a soft source adds triangles without adding shape and slows slicing, while a coarse grid on fine detail produces visible faceting that no layer height can fix. If the preview shows faceting the source does not justify, reduce the grid instead of increasing it.
03
The base is structural. A thin base warps under a large flat relief and gives a hanging point nothing to grip; a thick base wastes filament and lengthens every print. Choose it from how the piece will be displayed and what material it will be printed in, not from the default.
Then verify in the slicer: orientation, minimum feature width, supported overhangs, first-layer contact, and the calibrated dimensions of your own machine. The STL is a closed mesh built to your stated measurements; it is not a guarantee that a particular printer will hold them.
Five bounded stages
Check source contrast, edge detail, border clutter, and resolution before an AI call is trusted.
Adjust the subject mask, background, curve, detail, smoothing, taper, frame, and real dimensions for free.
Compare beam or tool size, tonal slices, slope, base, manifold topology, and bounding box with the real setup.
Approve one successful production job only after the free 2D and 3D previews earn acceptance.
Download one verified ZIP and inspect it in LightBurn, CAM, or a slicer before committing production material.
Choose by next action
| Output | Use it for | It does not guarantee | Cost |
|---|---|---|---|
| 8-bit PNG | Preview, mask, laser and compositing tests | Physical scale or machine settings | Free |
| Compatible 16-bit PNG | Compatibility with grayscale depth workflows | Additional source precision | Free |
| Preview STL | Low-cost scale and import checks | Printability, tool reach, or safe G-code | Free |
| Production job bundle | Raw EXR, true 16-bit pair, STL, preview and manifest | Hidden surfaces or certified metric truth | 1 credit |
Straight answers
Start around 128 to 160. Increase only if the slicer shows visible faceting that the source depth supports. Very dense meshes can slow slicing without improving the print.
Face resin when the detail is fine and the piece is small; face FDM when the object is large, handled, or needs to survive outside. The same STL can serve both, but the base thickness and relief depth should be chosen for one of them.
The mesh is built to that size, but the printer must be calibrated to reproduce it. Verify the bounding box in the slicer and print a small test piece before committing to a dimension-critical order.
Shallow relief with a taper usually prints flat on the base without supports. Steep walls, isolated high points, and undercuts are where supports or a design change become necessary.
Preview the idea. Pay for usable output.
Start without an account. When a professional format earns approval, use the welcome credit or choose a pack that matches the shop's workload.